 Save
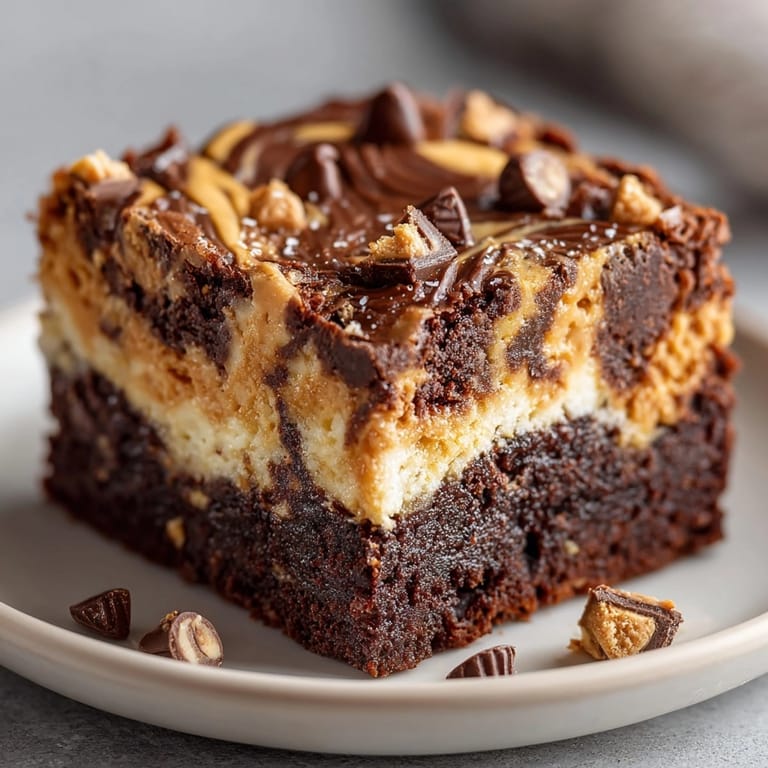
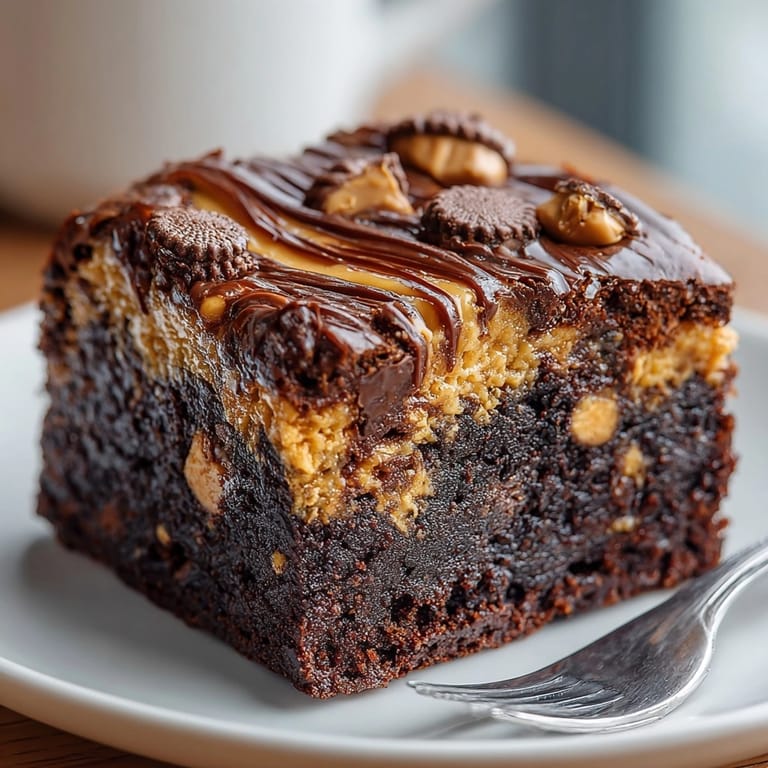
Save Peanut Butter Cup Brownies bring together two of my all-time favorite treats in one pan. Each square is loaded with melty chocolate chips and pockets of creamy peanut butter, all in a rich, homemade brownie base. These are my go-to for family get-togethers or when I need something impossibly indulgent without a lot of fuss.
I remember the first time I made these for a movie night and they disappeared before the previews ended. Now they are a must-have at every family celebration.
Ingredients
- All-purpose flour: brings structure so the brownies cut cleanly and hold their shape Look for unbleached flour for better flavor
- Granulated sugar: delivers classic sweetness and that shiny crust Use fine sugar so it blends well
- Unsweetened cocoa powder: makes the brownies rich and deeply chocolaty Choose a high-quality brand for best flavor
- Baking powder: ensures the brownies have just enough lift Always check the freshness of your leavening
- Salt: balances the sweetness and deepens the flavor A flaky sea salt gives a subtle crunch if sprinkled on top
- Unsalted butter: provides richness and fudgy texture Use good quality for a creamy base
- Eggs: create moisture and chew Choose large eggs at room temperature for better mixing
- Vanilla extract: offers a warm bakery aroma Pure extract is worth the little extra
- Creamy peanut butter: gives those signature salty ribbons Use a no-stir brand for easy swirling
- Powdered sugar: turns the peanut butter layer satiny smooth Sift ahead to prevent lumps
- Mini peanut butter cups: create bites of creamy chocolate surprise Chop them just before adding so they stay whole
- Semi-sweet chocolate chips: give extra chocolate bursts Look for chips that melt well and taste rich
Tired of Takeout? 🥡
Get 10 meals you can make faster than delivery arrives. Seriously.
One email. No spam. Unsubscribe anytime.
Instructions
- Prepare the Pan:
- Line your pan with parchment paper leaving an overhang on two sides This makes it super easy to lift out the brownies later and gives tidy edges for slicing
- Mix Dry Ingredients:
- Whisk together flour sugar cocoa powder baking powder and salt in a large bowl Make sure your dry ingredients have no clumps so the batter mixes up smooth and even
- Combine Wet Ingredients:
- In a separate bowl whisk melted butter eggs and vanilla extract until glossy and uniform This makes sure the butter does not cook the eggs and everything comes together smoothly
- Make the Batter:
- Pour the wet mixture into the dry ingredients and stir gently until just combined Stop stirring as soon as there are no visible streaks so your brownies stay tender
- Add Mix-Ins:
- Fold in chopped peanut butter cups and chocolate chips with a spatula This turns every bite into a surprise of chocolate and peanut butter goodness
- Layer the Batter and Peanut Butter:
- Spread two-thirds of the brownie batter evenly in your pan Pat it out to fill the corners for consistent thickness
- Prepare Peanut Butter Swirl:
- Mix peanut butter with powdered sugar until silky Drop spoonfuls over the brownie layer so there are visible pockets ready to swirl
- Dollop and Swirl:
- Spoon remaining brownie batter on top then use a knife to gently swirl the two together This creates beautiful marbling and blends flavors without losing those gooey layers
- Bake:
- Slide your pan into a preheated oven Bake for about thirty minutes The brownies are ready when a toothpick inserted in the center comes out with a few moist crumbs not dry
- Cool and Slice:
- Let the brownies cool fully in the pan This keeps them fudgy Wait until completely cool before lifting and slicing for picture-perfect squares
 Save
Save Peanut butter cups are my favorite ingredient because every bite comes with a surprise swirl of sweet and salty goodness. I still remember my niece sneaking a still-warm brownie from the pan on her birthday her smile said it all.
Storage Tips
Store leftover brownies in an airtight container at room temperature for up to three days For extra gooeyness pop a square in the microwave for ten seconds Refrigerate for up to a week for a firmer bite
Ingredient Substitutions
Feel free to swap almond butter for peanut butter or use sunbutter to make these nut free You can use dark chocolate chips for a deeper flavor Gluten free all purpose flour works just as well if you need it
Serving Suggestions
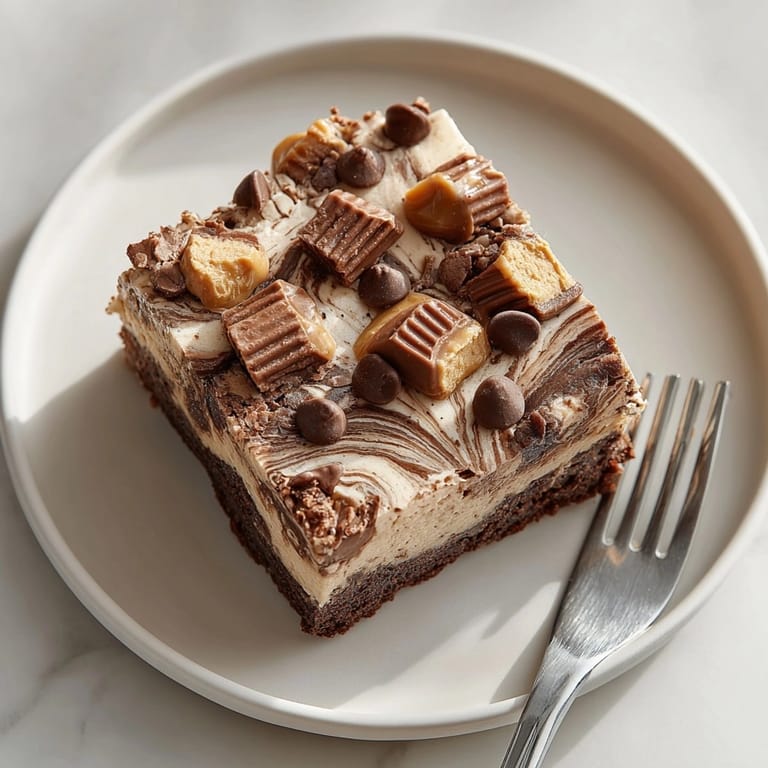
Serve warm topped with vanilla ice cream for a classic pairing A drizzle of melted chocolate or chopped roasted peanuts on top adds extra crunch You can even stack them high on a dessert tray for potlucks
Baking Through the Years
Brownies have a long history in American kitchens dating back over a century The peanut butter cup twist feels like pure nostalgia to me Since childhood I have loved the way peanut butter and chocolate come together for the ultimate after school treat
Seasonal Adaptations
Use peppermint patties instead of peanut butter cups for a holiday brownie Add a pinch of cinnamon or espresso powder in fall Sprinkle pastel candies or extra chocolate shavings at Easter or spring parties
Customize each batch for holidays or your favorite candies
Do not skip lining the pan with parchment or brownies may stick
Let brownies cool completely for perfect slicing and stacked storage
Success Stories
One reader once told me she made these as a freezer treat before her son left for college and he called every week begging for more Friends who claim they are not nut butter fans always go for a second square
Freezer Meal Conversion
Slice cooled brownies then wrap each piece in plastic wrap Store in a freezer bag for up to three months Thaw at room temperature or warm gently in the microwave for a gooey treat any night
 Save
Save I learned to chop the peanut butter cups right before mixing so they do not melt into the batter but instead create those ribboned pockets everyone fights for
Recipe FAQ Section
- → What kind of peanut butter works best?
Creamy, unsweetened peanut butter creates the smoothest swirl and blends well with powdered sugar for the marbled layer.
- → How do I achieve the perfect swirl?
Dollop the peanut butter mixture and remaining batter over the top, then gently drag a knife through both to create distinctive swirls.
- → Can these brownies be made ahead of time?
Yes, prepare and cool completely before storing in an airtight container for up to three days at room temperature.
- → Are there any nut-free alternatives?
Swap peanut butter and peanut butter cups for almond butter and almond-based chocolates, but note flavor changes and allergens.
- → How can I tell when the brownies are done baking?
Check for a few moist crumbs on a toothpick inserted in the center; avoid overbaking to keep the brownies fudgy.
- → What is the best way to serve these brownies?
For extra decadence, drizzle with melted chocolate or pair with a scoop of vanilla ice cream after cooling and slicing.