 Save
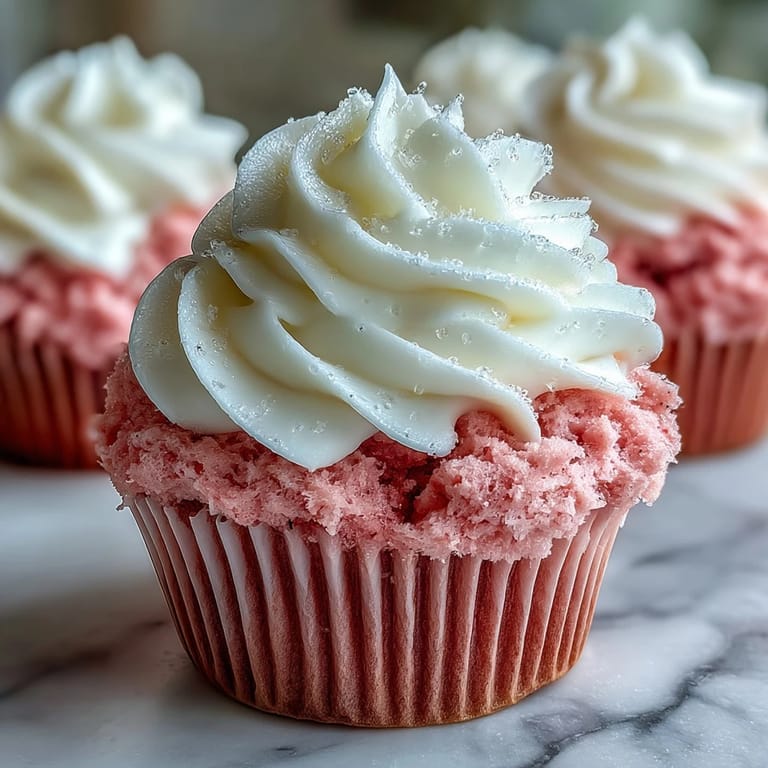
Save My colleague Sarah brought these to the office on Valentine's Day three years ago, and the whole team actually stopped working mid-morning just to taste them. What struck me most wasn't the pretty pink color—it was how she described baking them the night before: a little therapeutic ritual after a long week. That's when I decided to master them myself, and now they're my go-to when I need to show someone they matter.
Last February, I made a double batch for my niece's small galentine's party, and watching her friends light up when they saw the pink frosting reminded me that sometimes the most meaningful moments in the kitchen are the quiet reactions from people you love. That's when baking stops being a task and becomes something you actually look forward to.
Ingredients
- All-purpose flour (1 1/4 cups): The foundation that keeps these cupcakes tender rather than dense—don't pack it into the measuring cup or you'll end up with sad, dry results.
- Granulated sugar (1 cup): Creams beautifully with the butter and oil to create that signature fluffy crumb.
- Cornstarch (1/4 cup): This is the secret—it replaces some flour and keeps the texture impossibly soft and velvet-like.
- Baking soda and salt (1/2 teaspoon and 1/4 teaspoon): Baking soda reacts with the vinegar and buttermilk to create lift, while salt enhances all the flavors you can't quite name.
- Buttermilk (1/2 cup, room temperature): Cold buttermilk will seize up when you add it, so let it sit on the counter for 30 minutes first.
- Vegetable oil and unsalted butter (1/4 cup each): The combination of oil and butter creates moisture and structure—oil alone would be too greasy, butter alone too dense.
- Eggs (2 large, room temperature): Cold eggs won't incorporate smoothly, so you'll end up with streaky batter and uneven baking.
- Vanilla extract and white vinegar (2 teaspoons and 1 teaspoon): Vinegar enhances the subtle tang that makes pink velvet cupcakes so craveable; vanilla brings warmth without overwhelming the pink coloring.
- Pink gel food coloring (1–2 teaspoons): Gel coloring gives you a true pink without watering down the batter like liquid coloring does—this detail changed everything for me.
- Cream cheese and unsalted butter for frosting (8 oz and 1/2 cup): Both must be softened completely so they whip together into something cloud-like and smooth.
- Powdered sugar, sifted (2 1/2 cups): Sift it even if you think it's fine—lumps will show up as grainy spots in your frosting.
Tired of Takeout? 🥡
Get 10 meals you can make faster than delivery arrives. Seriously.
One email. No spam. Unsubscribe anytime.
Instructions
- Heat your oven and prep your station:
- Preheat to 350°F and line your muffin tin with liners while you gather everything—this small pause lets you feel organized before diving in.
- Build your dry mixture:
- Whisk flour, cornstarch, baking soda, and salt in a bowl and set it aside. This takes 30 seconds and prevents lumps from hiding in your batter later.
- Cream the wet base:
- Beat butter, oil, and sugar together for about 2 minutes until it looks pale and fluffy. You'll see the transformation happen—that's when you know the sugar has properly dissolved.
- Add eggs one at a time:
- Drop in each egg and beat well before adding the next. Rushing this step means you'll see little flecks of egg white in your batter.
- Mix in vanilla and vinegar:
- These two ingredients ground the flavor and wake up the buttermilk's tang. Stir until completely combined.
- Add your pink coloring gradually:
- Start with 1 teaspoon and mix thoroughly to see the shade—you can always add more, but you can't take it out. I learned the hard way that chasing deeper pink leads to artificial-looking cupcakes.
- Alternate dry and wet ingredients:
- Sprinkle in a third of your dry mixture, then half the buttermilk, then another third of dry, then the rest of buttermilk, then the final third of dry. Mix gently after each addition—overmixing develops gluten and makes your cupcakes tough and crumbly.
- Fill your liners:
- Divide batter evenly so each cupcake bakes at the same rate; fill each liner about two-thirds full.
- Bake with confidence:
- The cupcakes will take 18 to 20 minutes—they're done when a toothpick comes out clean with maybe a few moist crumbs. Let them rest in the pan for 5 minutes, then transfer to a rack so they cool completely without getting soggy.
- Make the frosting while they cool:
- Beat softened cream cheese and butter until they look like vanilla clouds, smooth and pale. Gradually add sifted powdered sugar so it doesn't puff into your face, then vanilla and a pinch of salt.
- Frost once everything is cool:
- This prevents melting and sliding. Use a piping bag for pretty swirls or a spatula for a rustic, homey look.
 Save
Save I once brought these to a potluck where someone's grandmother asked for the recipe, and the genuine delight on her face told me these weren't just pretty—they were actually good. That's the moment I stopped thinking of them as a Valentine's Day novelty and started thinking of them as a gift I could give year-round.
The Science Behind Pink Velvet
Pink velvet cupcakes work because of an unexpected chemistry between acid and base. The buttermilk and vinegar create an acidic environment that reacts with the baking soda—this reaction produces carbon dioxide, which creates those tiny air pockets that make the crumb so feathery. The cocoa that shows up in traditional red velvet is replaced here with cornstarch, which also tenderizes the crumb and keeps it soft for days. Understanding this helps you troubleshoot: if your cupcakes are dense, you likely overmixed or skipped the room temperature step.
Storage and Serving Wisdom
These cupcakes are actually better on day two or three because the flavors meld and the frosting sets into something you can bite into without sliding off. Keep them in the refrigerator in an airtight container where the frosting won't dry out. I've learned to bring them to room temperature for 20 minutes before serving because cold cream cheese frosting gets a little rubbery and hides the tanginess that makes it special.
Creative Decorating Ideas and Final Touches
The beauty of these cupcakes is that they're a blank canvas—I've topped them with everything from edible glitter and pearl sprinkles to fresh raspberries and a light dusting of cocoa powder for contrast. Last year I tried adding a tiny candy heart on top of each frosting swirl, and it turned them into something shareable and Instagram-worthy without feeling like you were trying too hard. The decorations are really about the story you want to tell—whether that's romantic, playful, or just genuinely homemade and sincere.
- Edible glitter catches light and makes the cupcakes feel festive even when they're just for yourself.
- Fresh berries add tartness that plays beautifully against the creamy frosting.
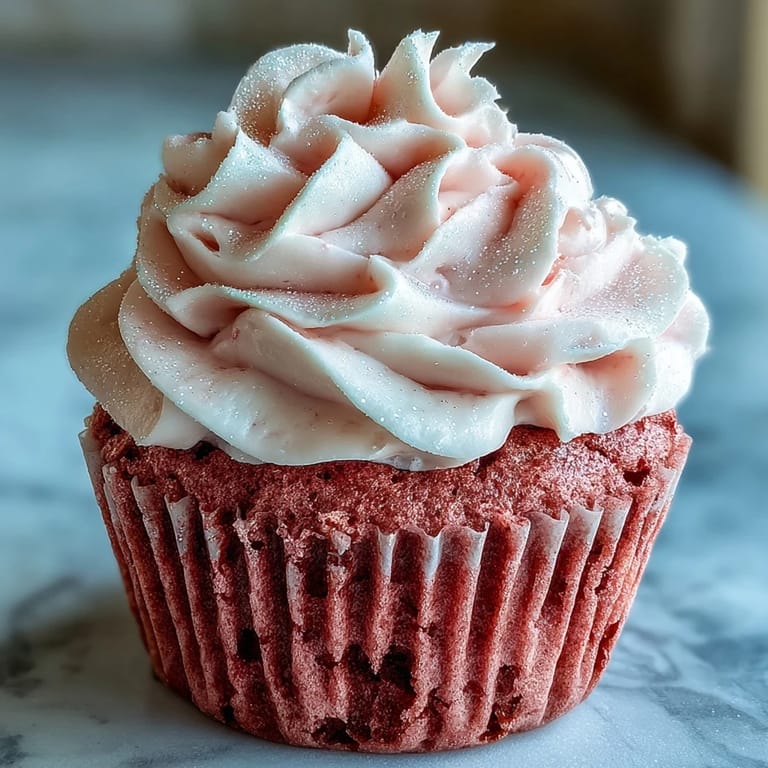
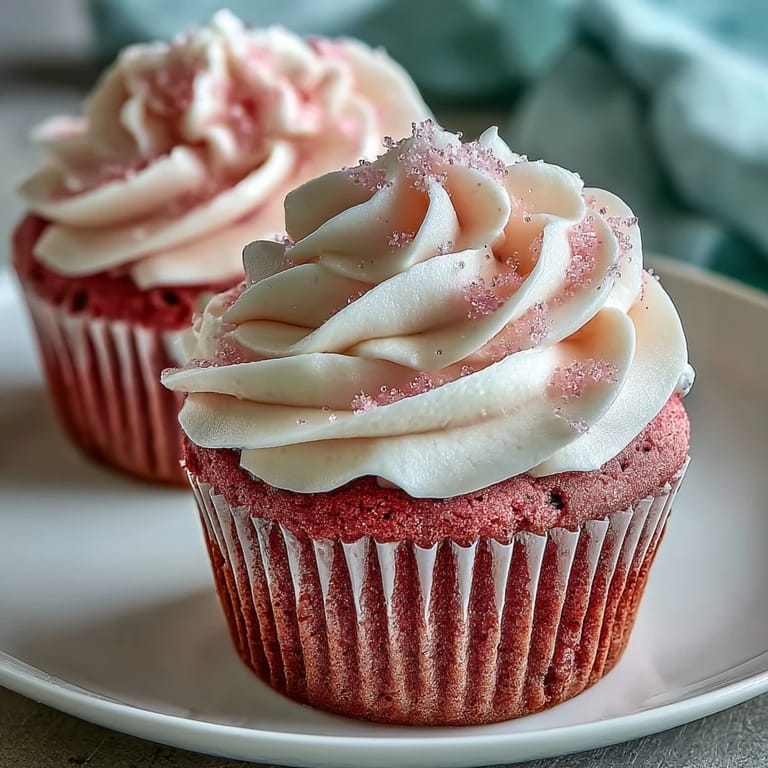
- A simple sprinkle of pink sanding sugar looks elegant and lets the cupcake itself be the star.
 Save
Save These cupcakes have become my answer when someone needs something sweet but also something that says 'I thought of you.' The pink color makes people smile before they even taste them, and the actual flavor—tender and tangy and not too sweet—makes them come back for more.
Recipe FAQ Section
- → What gives these cupcakes their pink color?
Using pink gel food coloring creates the vibrant pink hue. Gel coloring is preferred over liquid to maintain batter consistency and achieve deeper color.
- → How can I keep the cupcakes moist?
Alternating dry ingredients with buttermilk and avoiding overmixing helps maintain a tender, moist crumb in the cupcakes.
- → What is the purpose of vinegar in the batter?
White vinegar reacts with baking soda to produce bubbles, contributing to a light and fluffy texture in the cupcakes.
- → How should the cream cheese frosting be prepared?
Beat softened cream cheese and butter until smooth, then gradually mix in powdered sugar, vanilla, and a pinch of salt until creamy and fluffy.
- → Can I decorate the cupcakes with other toppings?
Yes, options include pink or red sprinkles, edible glitter, or fresh raspberries and strawberries for added texture and color.