 Save
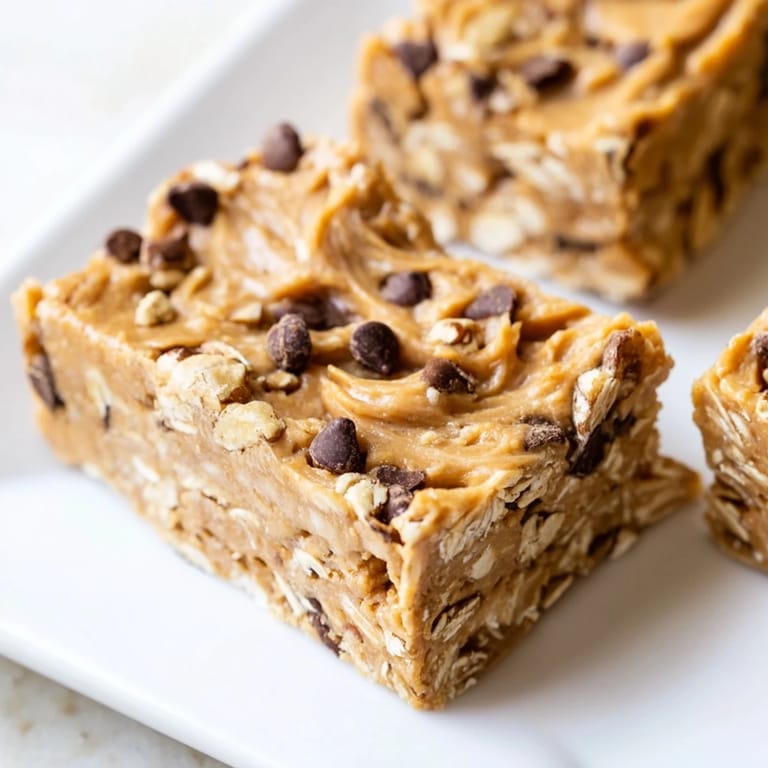
Save One afternoon, I was rummaging through my pantry looking for something to quiet my growling stomach when I spotted a bunch of overripe bananas turning dark—you know, the ones that are too far gone for toast but perfect for, well, anything else. A jar of peanut butter caught my eye, and suddenly I was mixing them together with oats and honey, pressing everything into a pan, and discovering that no oven required. These no-bake bars became my answer to that 3 p.m. energy crash.
I made a batch for a friend who was training for a half marathon, and she texted me three days later asking for the recipe because she'd already demolished them all. That moment—knowing something I'd invented on a whim became her go-to fuel—made me realize how special these bars really were.
Ingredients
- Ripe bananas (2 large, mashed): The riper, the better—those spotted ones have more natural sweetness and blend smoother into the mix, letting you use less added sugar.
- Creamy peanut butter (1/2 cup): This is your binding agent and flavor anchor, so don't skimp on quality; natural or conventional both work, just stir it first if there's oil on top.
- Honey or maple syrup (1/4 cup): Both bring moisture and sweetness—honey gives earthiness, maple adds a subtle complexity that pairs beautifully with peanut butter.
- Vanilla extract (1 tsp): A small amount that rounds out all the flavors and reminds your palate this is dessert-adjacent.
- Old-fashioned rolled oats (2 cups): These are heartier than quick oats and give the bars their signature chew; they're also what makes this feel substantial.
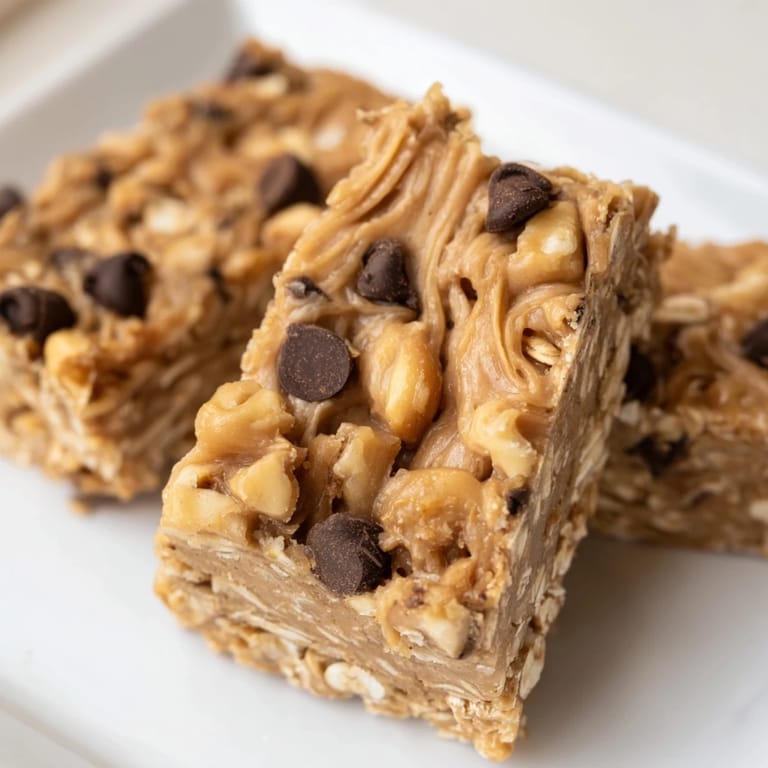
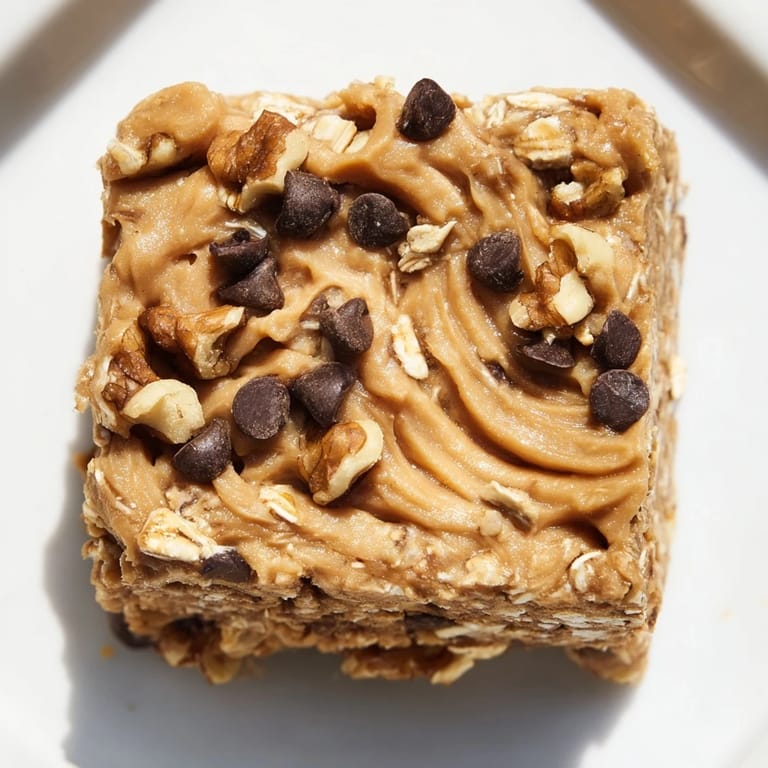
- Walnuts or pecans (1/4 cup, optional): If you add them, chop them small so they distribute evenly and add a gentle crunch without overwhelming the texture.
- Mini chocolate chips (1/4 cup, optional): The little ones melt slightly into the warmth of the mixture, creating pockets of richness throughout.
- Salt (1/4 tsp): A pinch that makes everything taste more like itself and keeps the sweetness from becoming cloying.
- Ground cinnamon (1/2 tsp): Warm spice that whispers rather than shouts, tying peanut butter and banana together like they planned it.
Tired of Takeout? 🥡
Get 10 meals you can make faster than delivery arrives. Seriously.
One email. No spam. Unsubscribe anytime.
Instructions
- Prepare your pan:
- Line your 8x8-inch pan with parchment paper, letting it overhang the sides—this is your secret to effortless removal later without crumbling bars everywhere.
- Mash the bananas:
- Break them down until mostly smooth with just a few tiny flecks; if you go too fine it gets gluey, too chunky and the bars won't hold together.
- Mix the wet base:
- Stir the peanut butter, honey, and vanilla into those bananas until you have something that looks like thick, creamy cake batter.
- Fold in the dry ingredients:
- Add oats, salt, cinnamon, and any mix-ins, stirring until every oat is coated and the texture feels cohesive—it should look shaggy at first, then start to hold together as you keep mixing.
- Press into the pan:
- Transfer everything to your prepared pan and use the back of a spoon or a spatula to press it down firmly and evenly, working into the corners; this ensures your bars will slice cleanly instead of crumbling apart.
- Chill until set:
- Pop it in the fridge for at least an hour—the mixture firms up as the oats absorb moisture, and you need that structure for clean cuts.
- Slice and store:
- Use the parchment to lift the whole block out, then slice into 12 rectangles with a sharp knife (wiping the blade between cuts helps); keep them in an airtight container in the fridge where they'll stay fresh for a week.
 Save
Save I once brought these to a potluck where someone asked if I'd bought them from a bakery, and it felt absurdly good to say I'd made them in my kitchen without turning on the oven. That's when I realized these bars had crossed over from quick snack to something I actually wanted people to taste.
Flavor Combinations to Try
The base recipe is forgiving enough to accommodate your mood and what's in your pantry. Swap the peanut butter for almond butter or tahini if you want something earthier, or stir in shredded coconut for tropical warmth. Dried cranberries or raisins add chewy pops of tartness that balance the sweetness, while a pinch of nutmeg or cardamom deepens the spice profile into something almost cozy.
Storage and Portability
These bars are built for life outside the kitchen—they don't require refrigeration for a few hours, making them ideal for gym bags, backpacks, or road trips. I wrap individual bars in parchment paper and then slide them into a container so they're grab-and-go, and they've survived everything from overstuffed purses to car cup holders.
When to Make Them and Why
These bars shine when you need an answer to snack cravings that feels both indulgent and nourishing—they work just as well at 2 p.m. when energy dips as they do at breakfast time when you're in a rush. I've found they also make excellent homemade gifts; people are always surprised and touched by something made with such simple, recognizable ingredients.
- Make a batch on a Sunday afternoon and you have grab-and-go nutrition for most of your week.
- Double the recipe if you're feeding multiple people or want extras tucked in the freezer.
- These are naturally vegetarian and easily adaptable for vegan diets with maple syrup and dairy-free chocolate chips.
 Save
Save There's something deeply satisfying about making a snack this wholesome and this easy, especially when it tastes nothing like obligation and everything like a small pleasure you carved out for yourself. Next time those bananas are looking sad, remember they're actually at their best.
Recipe FAQ Section
- → Can I substitute peanut butter in these bars?
Yes, almond or sunflower seed butter can be used as alternatives to peanut butter for a different flavor or to avoid peanuts.
- → How long should I chill the bars?
Chill the bars for at least 1 hour to allow them to firm up for easy slicing and handling.
- → Are there options to add more flavors?
Optional mix-ins like chopped walnuts, pecans, chocolate chips, or dried fruits can enhance the texture and taste.
- → How should I store the bars after preparation?
Store the bars in an airtight container in the refrigerator for up to one week to maintain freshness.
- → Is this suitable for a vegan diet?
Yes, use maple syrup instead of honey and dairy-free chocolate chips to make the bars vegan-friendly.