 Save
Save My grandmother kept jars of guava jelly lined up on her kitchen windowsill, catching the afternoon light like ruby stained glass. She never measured anything precisely, just knew by the way the mixture moved on her wooden spoon when it was ready. Years later, watching guavas tumble from the market bag onto my counter, I finally understood what she'd been chasing all those afternoons—that perfect moment when fruit transforms into something that tastes like sunshine in a jar.
I made this for my friend's birthday tea, nervous because preserving felt like magic I hadn't mastered yet. She spread it on a scone still warm from the oven, closed her eyes, and said nothing for a long moment—the highest compliment possible. That jar became the reason she started asking if I could make it again, and again, until it became our thing.
Ingredients
- Ripe guavas (1.5 kg or about 3.3 lbs): Look for fruit that yields gently to pressure and smells aromatic, not hard or pale—the flavor lives in ripeness, and underripe ones won't deliver that deep, complex sweetness you're after.
- Water (4 cups): This becomes your medium for coaxing out every bit of juice and natural pectin from the fruit, so use filtered water if your tap water is heavily treated.
- Granulated sugar (4 cups): Measure carefully and expect to adjust based on your juice yield—white sugar lets the guava color shine without competing flavors.
- Lemon juice (2 tbsp): This brightens the final flavor and helps the jelly set by increasing acidity, making it taste less one-dimensional and more alive.
Tired of Takeout? 🥡
Get 10 meals you can make faster than delivery arrives. Seriously.
One email. No spam. Unsubscribe anytime.
Instructions
- Prepare your guavas:
- Wash them under cool running water, rubbing gently to remove any dirt, then cut into quarters without peeling—the seeds and skin release pectin as they cook, which is what makes your jelly actually set.
- Simmer until soft:
- Place the quarters in your largest saucepan, cover with water, and bring to a rolling boil, then turn it down to a gentle simmer for about 30 minutes. The fruit should be falling apart, almost melting into the liquid.
- Strain with patience:
- Line a strainer with cheesecloth and pour everything in, then walk away—seriously, don't squeeze or press, even though you'll want to. Let it drip for at least 2 hours, preferably overnight, so the jelly stays crystal clear and beautiful.
- Calculate and combine:
- Measure your extracted juice, add an equal amount of sugar, and stir in the lemon juice. The ratio matters here, so don't guess.
- Reach gel stage:
- Bring the mixture to a hard boil over high heat, stirring to dissolve the sugar, then let it roll at that aggressive boil until a candy thermometer reads 220°F (104°C), which usually takes 15 to 20 minutes. Skim any foam that rises to the surface.
- Test for doneness:
- Drop a small spoonful onto a cold plate and let it cool for a few seconds—if it wrinkles when you push it with your finger, you're done. If it flows, keep boiling and test again in a couple of minutes.
- Fill and seal:
- Pour the hot jelly into sterilized jars, leaving about a quarter inch of space at the top, then seal immediately so the lids pop as they cool. This is how you know it worked.
- Cool completely:
- Leave the jars at room temperature overnight before moving them to storage, so they set properly and the seal takes hold.
 Save
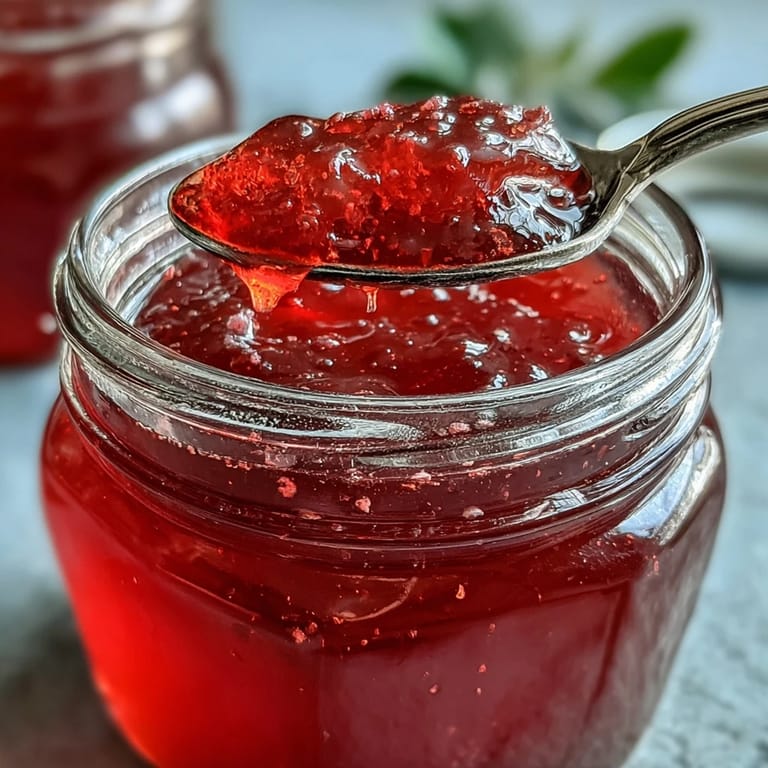
Save My daughter asked why the jelly looked like a stained-glass window, and I realized this wasn't just about taste anymore—it was about creating something beautiful enough to make people stop and notice. That's when preserving stopped feeling like a chore and started feeling like an act of kindness.
Why Clarity Matters in Guava Jelly
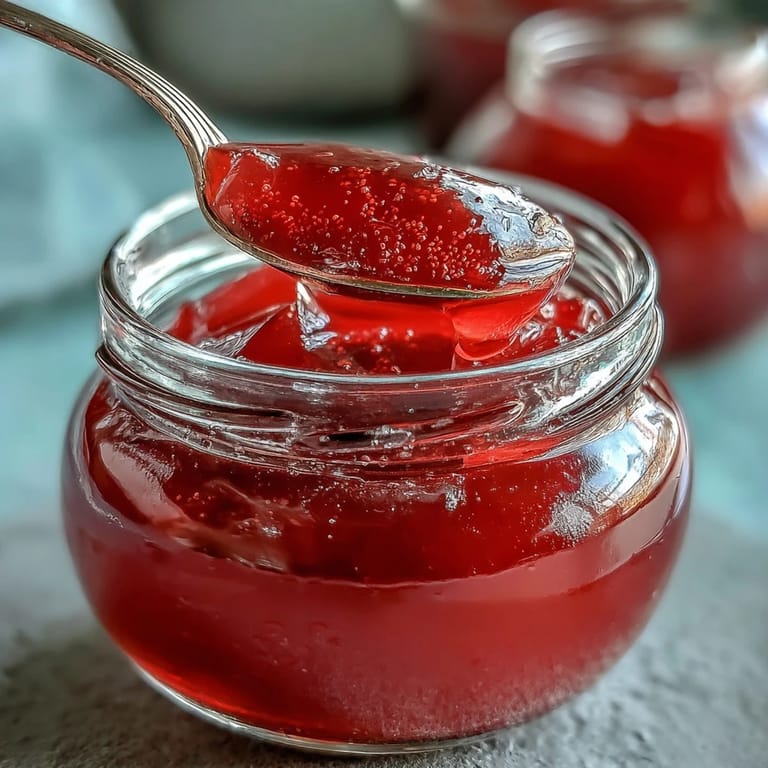
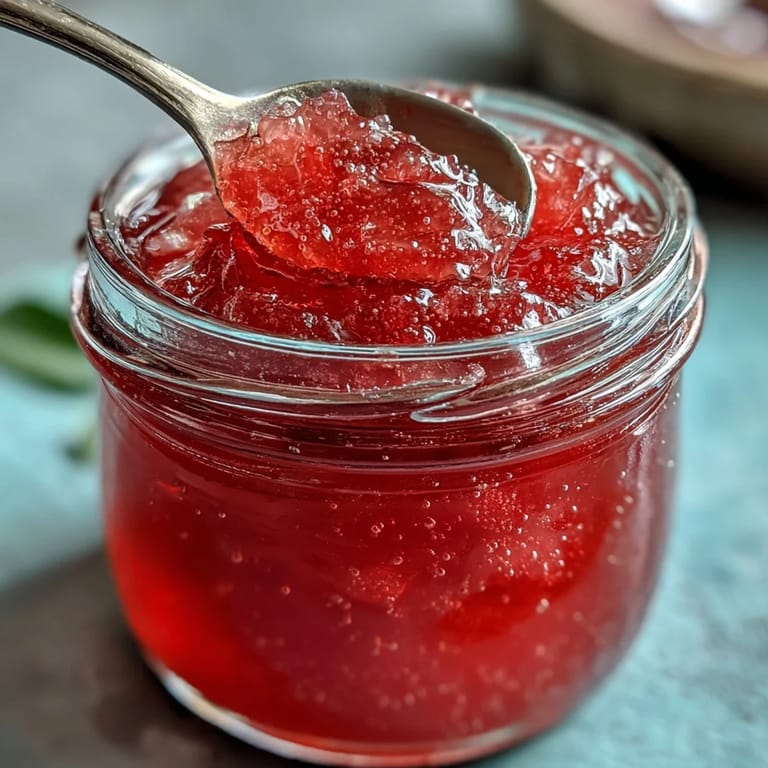
Clear jelly catches light differently than cloudy preserves, and there's something almost meditative about watching that clarity develop as you wait for the straining stage to finish. The patience feels rewarded the moment you hold a jar up to a window and see that ruby glow.
Troubleshooting Common Issues
If your jelly didn't set, don't panic—you can recook it by adding more juice and starting over, or embrace it as a delicious syrup for cocktails or ice cream. If it set too firm, like rubber, you overcooked it, and the fix for next time is pulling off heat 2 degrees earlier on the thermometer.
Making This Jelly Your Own
Once you master the basic technique, guava jelly becomes a canvas for small variations that make it distinctly yours. Try adding a whisper of rose water, or a pinch of vanilla, or even a few whole cloves for depth—the fruit is forgiving as long as you respect the gel stage.
- Test your thermometer in boiling water before using it to make sure it reads exactly 212°F, since even a few degrees off changes everything.
- Keep your jars and lids sterilized and hot right until the moment you fill them, or the jelly might not seal properly.
- Label your jars with the date so you remember which batch you made when, and so you actually use them instead of letting them hide in the back of the cupboard.
 Save
Save There's something quietly magical about opening a jar of guava jelly months later and tasting the summer you made it. That's when you know you've done something right.
Recipe FAQ Section
- → How long does homemade guava jelly last?
Properly sealed jars stored in a cool, dark place remain fresh for up to one year. Once opened, refrigerate and consume within three weeks for best quality and flavor.
- → Why should I avoid pressing the fruit while straining?
Pressing or squeezing the cooked fruit releases particles that cloud the juice. Letting it drip naturally through cheesecloth produces the clear, jewel-toned appearance that makes this preserve so visually appealing.
- → Can I use underripe guavas?
Using slightly underripe guavas actually increases natural pectin content, helping the jelly set better. Combine both ripe and underripe fruit for the best balance of sweetness and gelling ability.
- → What temperature indicates the jelly is done?
The mixture reaches proper gel stage at 220°F (104°C) when measured with a candy thermometer. Alternatively, place a spoonful on a cold plate—if it wrinkles when pushed, it's ready to jar.
- → What can I use guava jelly for?
This versatile preserve shines as a toast spread, filling for thumbprint cookies, or glaze for cakes. The tropical sweetness pairs wonderfully with cream cheese on crackers or as a topping for vanilla ice cream.
- → Do I need to peel the guavas?
No peeling necessary—cook the fruit with skins and seeds intact. The straining process removes all solids, leaving only the flavorful, colorful juice behind for your preserves.