 Save
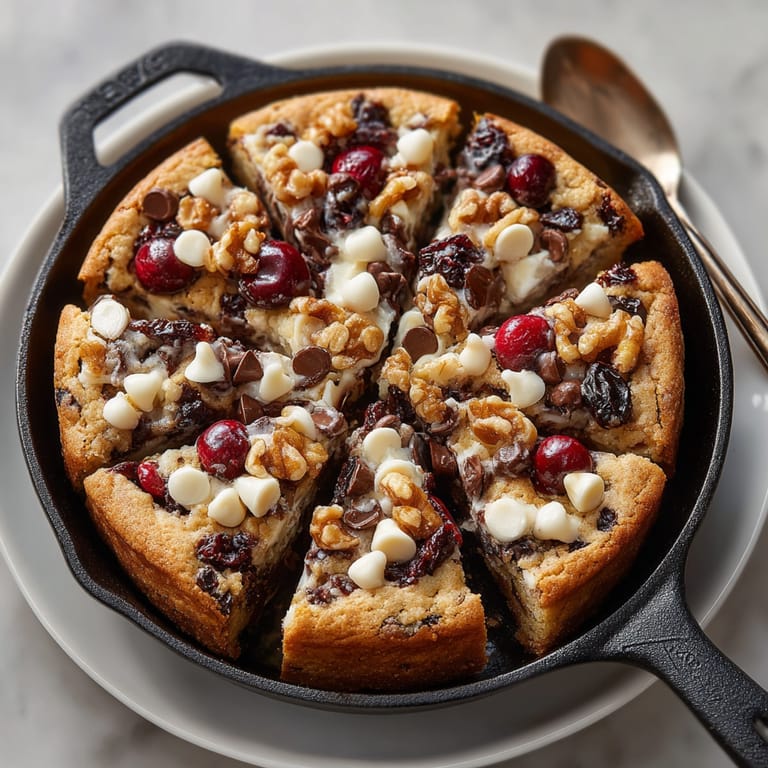
Save This cherry-studded skillet cookie has become my weekend baking ritual whenever friends drop by unexpectedly. The combination of tart cherries and rich chocolate creates a perfect balance of flavors in this oversized, shareable treat that always draws people to the table.
I first made this cookie during a snowy cabin weekend with friends when we were craving something sweet but the nearest store was miles away. Using dried cherries I had packed for hiking snacks turned out to be a happy accident that created our new favorite dessert tradition.
Ingredients
- All-purpose flour: creates the perfect structure for this cookie without being too dense
- Baking soda: provides just the right amount of lift for that ideal cookie texture
- Salt: balances the sweetness and enhances all the flavors
- Unsalted butter: gives you control over the salt content while providing richness
- Light brown sugar: adds moisture and a subtle caramel flavor that pairs beautifully with cherries
- Granulated sugar: creates those crispy golden edges everyone fights over
- Large eggs: bind everything together and contribute to the chewy texture
- Pure vanilla extract: adds warmth and depth look for real not artificial for best results
- Dark chocolate chips: provide rich bittersweet notes that contrast with the cherries
- Dried tart cherries: are the star ingredient adding bright pops of flavor and chewy texture
- Chopped toasted walnuts: optional but add wonderful texture and nutty flavor
- White chocolate chips: optional but create beautiful color contrast and sweet creaminess
Tired of Takeout? 🥡
Get 10 meals you can make faster than delivery arrives. Seriously.
One email. No spam. Unsubscribe anytime.
Instructions
- Prepare Your Oven:
- Preheat your oven to 350°F and position the rack in the center. This temperature creates the perfect environment for the cookie to rise evenly while developing those irresistible golden edges.
- Mix Dry Ingredients:
- Whisk together flour baking soda and salt in a medium bowl until completely combined. This step ensures no one gets a bite with too much salt or baking soda later.
- Cream The Butter And Sugars:
- Beat the softened butter with both sugars for a full 2 to 3 minutes until the mixture becomes noticeably lighter in color and fluffy in texture. This incorporates air into the dough creating a tender cookie.
- Add Wet Ingredients:
- Incorporate eggs one at a time allowing each to fully blend before adding the next. Then mix in vanilla extract until just combined. The mixture should look smooth and glossy at this point.
- Combine Wet And Dry:
- Gradually add the flour mixture to the wet ingredients mixing on low speed just until no flour streaks remain. Overmixing will develop gluten and make your cookie tough so stop once combined.
- Fold In Mix-ins:
- Gently fold in the chocolate chips dried cherries and nuts if using with a rubber spatula. This distributes the goodies evenly throughout the dough without overworking it.
- Transfer To Skillet:
- Press the cookie dough evenly into a well-greased 10-inch cast iron skillet. Use the back of a measuring cup to smooth the top while creating a slight depression in the center which helps it bake evenly.
- Add Final Touches:
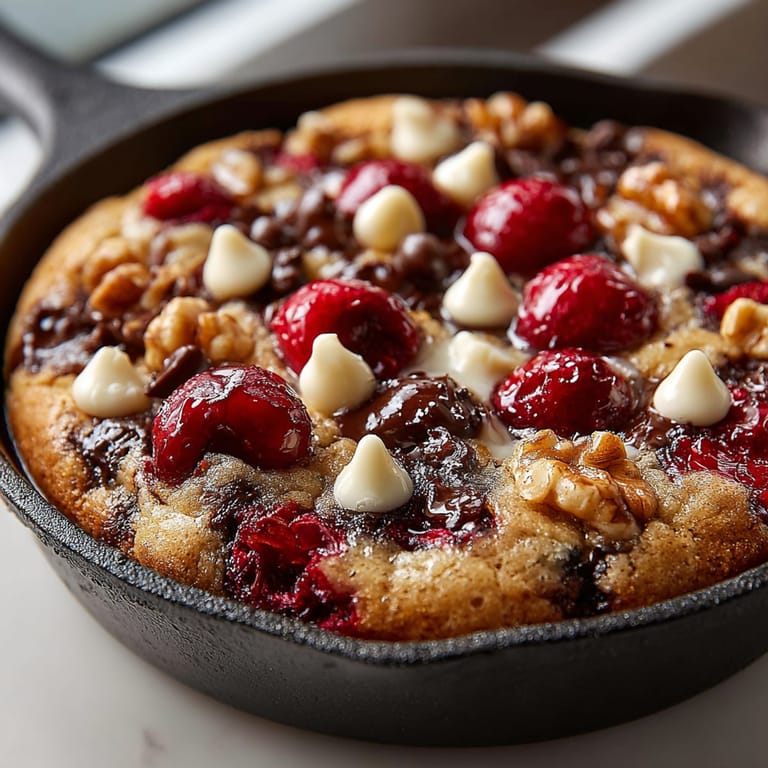
- Sprinkle additional white chocolate chips over the top for visual appeal. You can also add a light sprinkle of flaky sea salt for a professional flavor boost.
- Bake To Perfection:
- Bake for exactly 22 minutes for a gooier center or up to 26 minutes for a more set cookie. The edges should be golden brown while the center remains slightly soft it will continue cooking in the hot skillet after removal.
- Cool And Serve:
- Let the cookie cool in the skillet for exactly 10 minutes which allows it to set up enough to slice while still being wonderfully warm. Serve directly from the skillet for the most dramatic presentation.
 Save
Save The dried cherries are truly what make this cookie special. I discovered their magic when experimenting with different dried fruits in baking. Unlike raisins which can sometimes be too sweet the tart cherries provide bursts of bright flavor that cut through the richness of the butter and chocolate. My niece who claimed to hate dried fruit actually requested this cookie for her birthday after trying it at our family gathering.
Storage Tips
This skillet cookie stays remarkably fresh when stored properly. Once completely cooled cover the skillet tightly with foil or transfer leftover pieces to an airtight container. It will maintain its texture for up to 3 days at room temperature.
For longer storage wrap individual portions in plastic wrap then place in a freezer bag. They will keep for up to 3 months frozen. To reheat simply microwave for 20 seconds or warm in a 300°F oven for about 5 minutes until just warmed through.
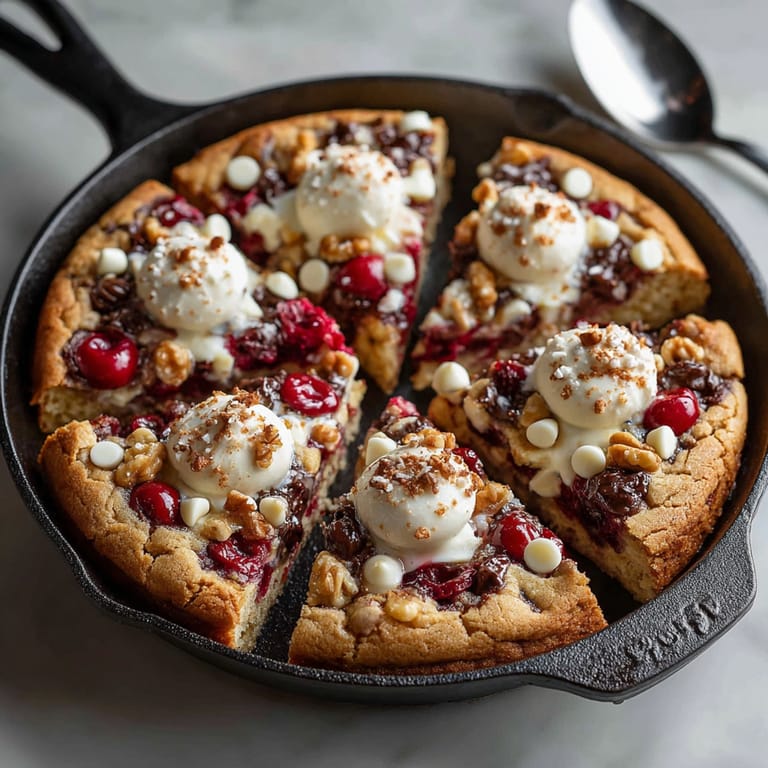
The best part about freezing portions is having an instant dessert ready whenever a craving strikes just add a scoop of vanilla ice cream to the warm cookie for an elevated treat.
Ingredient Substitutions
This recipe welcomes creative adaptations based on what you have available. If dried cherries are hard to find cranberries make an excellent substitute with a similar tartness. For a more decadent version use fresh cherries when in season just pit and quarter them before folding into the dough.
The chocolate components are equally flexible. Milk chocolate creates a sweeter cookie while ruby chocolate adds a unique berry flavor that complements the cherries beautifully. For a more sophisticated flavor profile dark chocolate chunks with at least 70% cacao content provide wonderful bittersweet notes.
Nut allergies in the family? Simply omit the walnuts or substitute with toasted sunflower seeds for a similar textural crunch without the allergen concerns.
Serving Suggestions
While delicious on its own this skillet cookie transforms into a showstopping dessert with thoughtful presentation. Serve it warm topped with vanilla bean ice cream which melts slightly into the crevices creating a sauce like consistency.
For brunch gatherings try serving small wedges alongside coffee or espresso. The cherry and chocolate flavors pair wonderfully with a medium roast coffee.
During holiday seasons dress it up by dusting the edges with powdered sugar and placing a few fresh cherries or mint leaves on top for color. For a truly indulgent experience drizzle with warm chocolate sauce or homemade cherry compote before serving.
 Save
Save Seasonal Adaptations
This versatile skillet cookie can be adapted throughout the year to highlight seasonal ingredients and flavors.
Summer version uses fresh cherries when they are abundant and at their peak
Fall adaptation incorporates cinnamon dried apples and caramel chips for a harvest feel
Winter holiday version includes crushed peppermint candies and dark chocolate for a festive twist
The basic dough recipe remains the same across seasons making this a reliable template for creative baking all year round. My family particularly loves the summer version made with fresh cherries from our annual cherry picking trip which adds a special memory to each bite.
Recipe FAQ Section
- → Can I use fresh cherries instead of dried?
Yes, fresh or thawed frozen cherries work well—just pit, chop, and pat them dry before folding into the dough.
- → Should I add both dark and white chocolate chips?
Dark chocolate gives depth while white chocolate adds sweetness and a festive color contrast. Use one or both, as preferred.
- → How can I make this nut-free?
Simply omit the walnuts for a nut-free version. The cookie holds together perfectly without them.
- → What skillet size is best?
A 10-inch oven-safe skillet is ideal for even baking, a chewy edge, and soft center. Adjust baking time for different sizes.
- → Can I prepare the dough in advance?
Yes! Refrigerate the dough up to 24 hours, then bake as directed. Let the dough warm slightly before spreading in the skillet.